Installation Instructions
Thank you for choosing MokiTV! Get ready to elevate your entertainment setup to a whole new level. Before you dive into the assembly and installation process, be sure to carefully review all included instructions and manuals. This will ensure a smooth and hassle-free setup experience.
If you feel unsure or encounter any issues during assembly, do not hesitate to contact a qualified installer. Your safety is our top priority, and Graphic House, Inc., cannot be held responsible for any injuries or damages that may occur during installation.
Please note: DO NOT add any accessories or extra components to the MokiTV system. Adding extra weight could surpass the mounting system’s capacity, potentially damaging your MokiTV or even resulting in injury. Keep it safe, keep it simple and enjoy the magic of MokiTV!
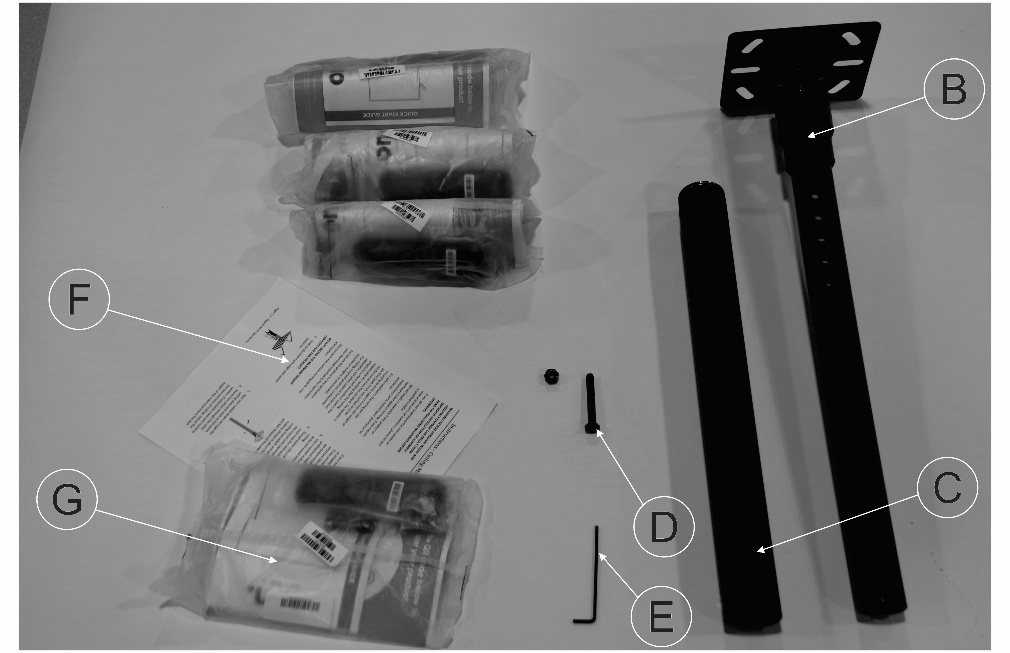
Parts List
Customer will need to provide a 1/2″ open end wrench and socket for assembly of the adjustment bolt in the ceiling mount component.
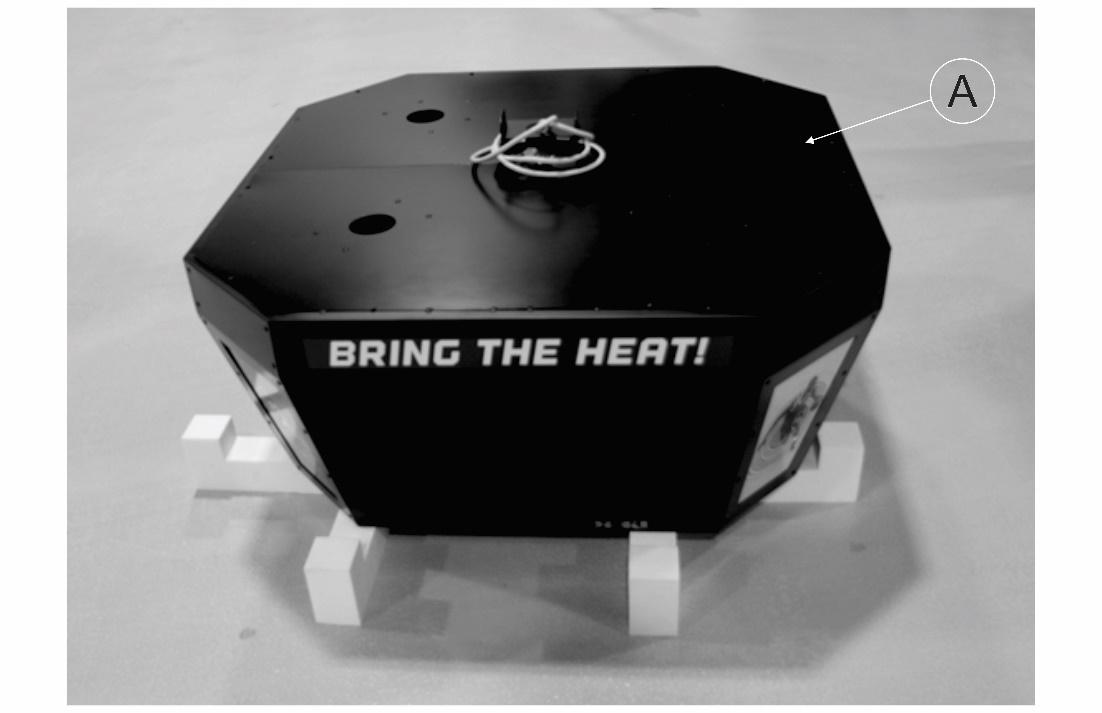
A. MokiTV
B. Ceiling Plate & Ceiling Mast
C. Lower Adjustable Mast Section
D. Mast Bolt & Nylon Locking Nut
E. Allen Key
F. MokiTV Mount Manufacturer Installation Instructions
G. TV Remote and Manual
Assembly and Installation Instructions
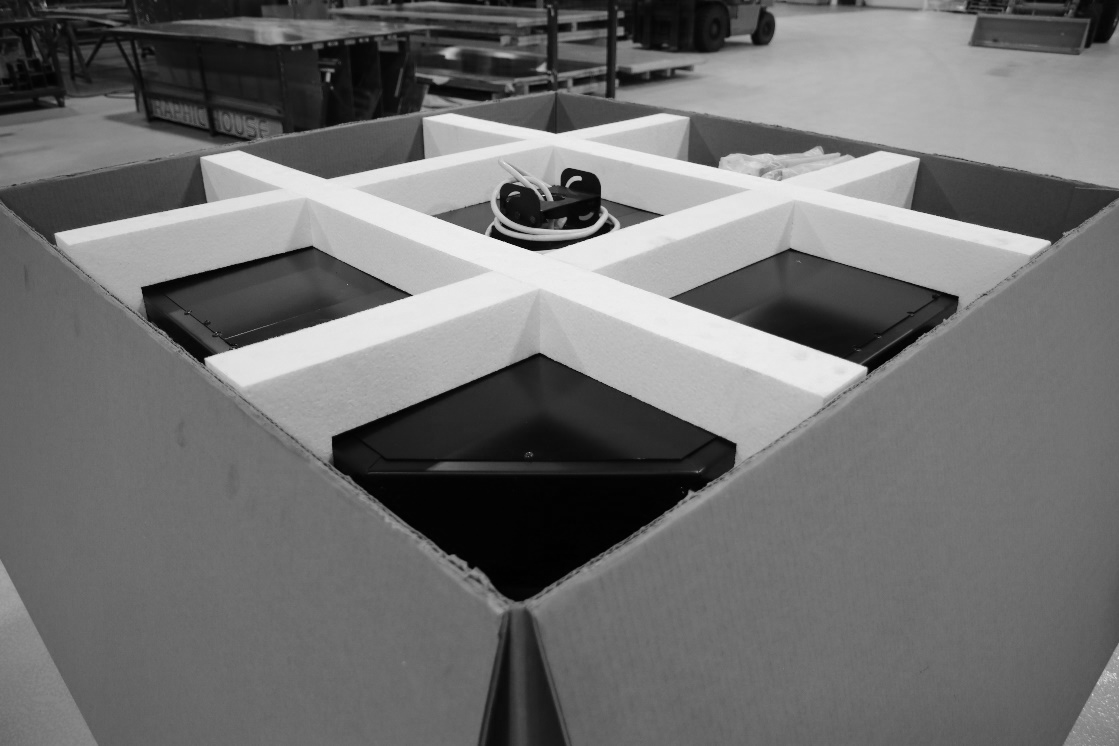
1. Open packaging and remove MokiTV (Part A) and all other parts.
2. Run power cord through Lower Adjustable Mast section (Part C).
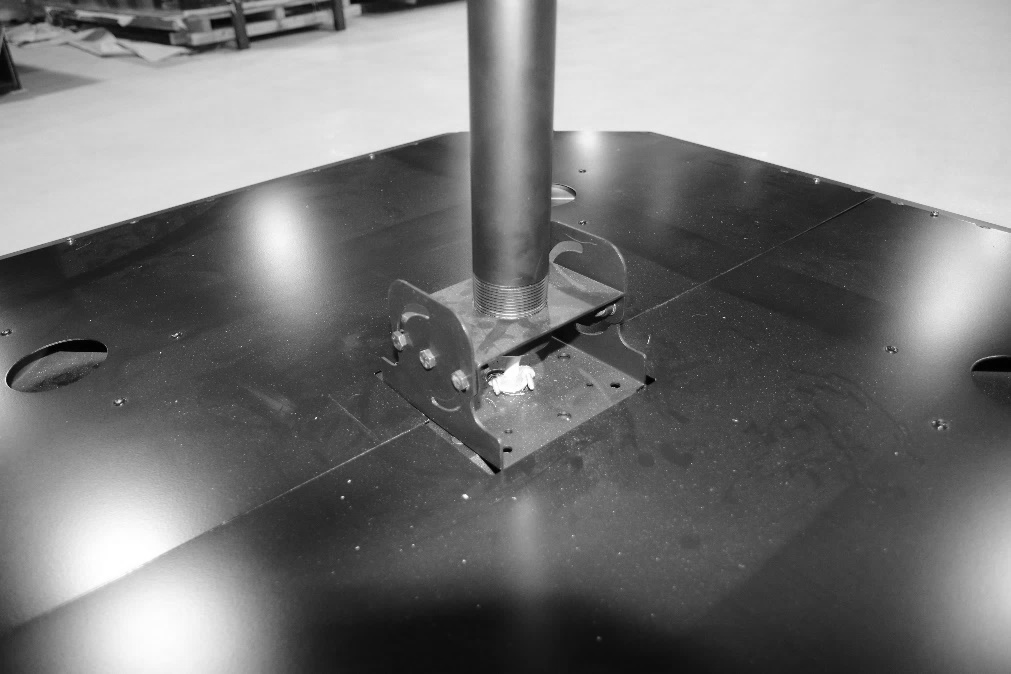
3. Thread Lower Adjustable Mast section into base plate and tighten set screw using provided Allen Key (Part E).
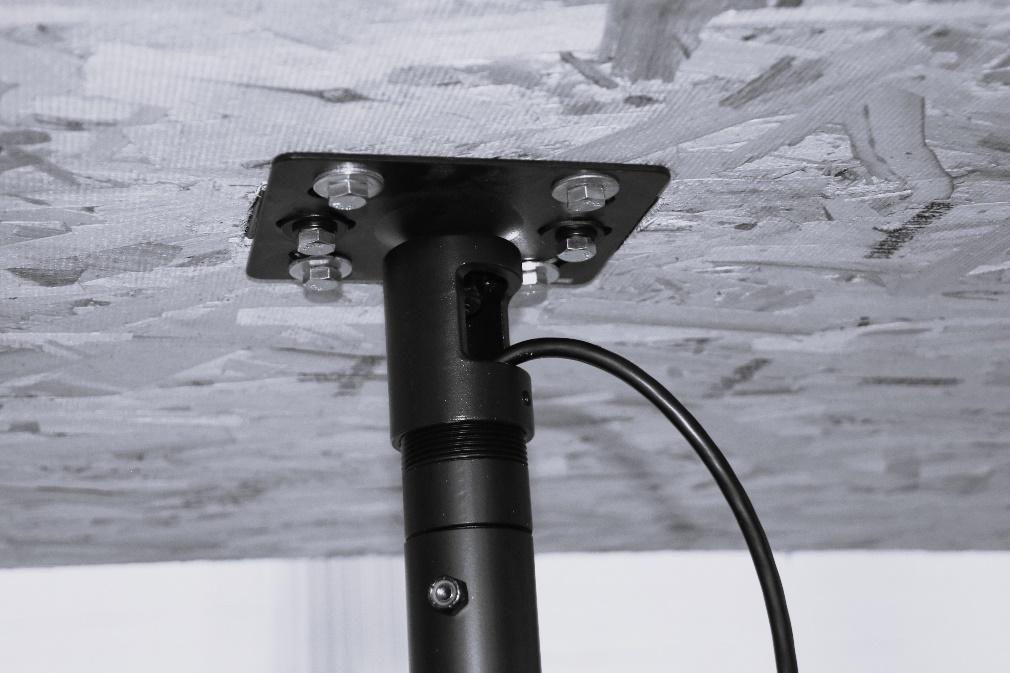
4. Following the supplied MokiTV Mount Manufacturer Installation Instructions included with your MokiTV (Part F), install the Ceiling Plate and Mast (Part B). Note: Ceiling Plate and Mast should be mounted to blocking, joist, rafter, or truss that can hold a minimum of 300 lbs. DO NOT mount the MokiTV directly into drywall.
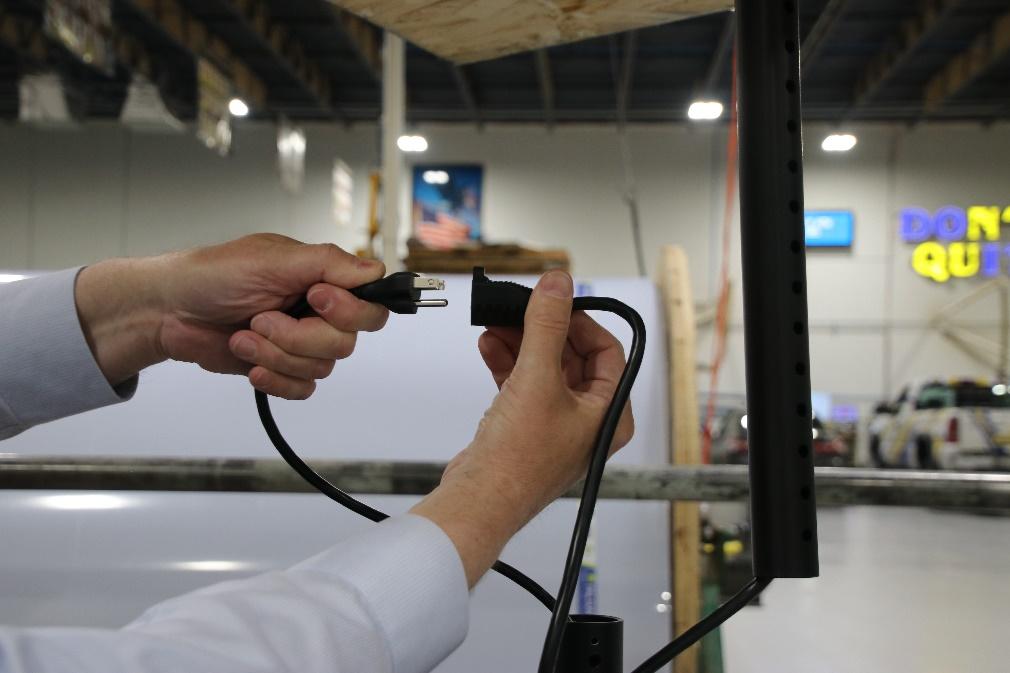
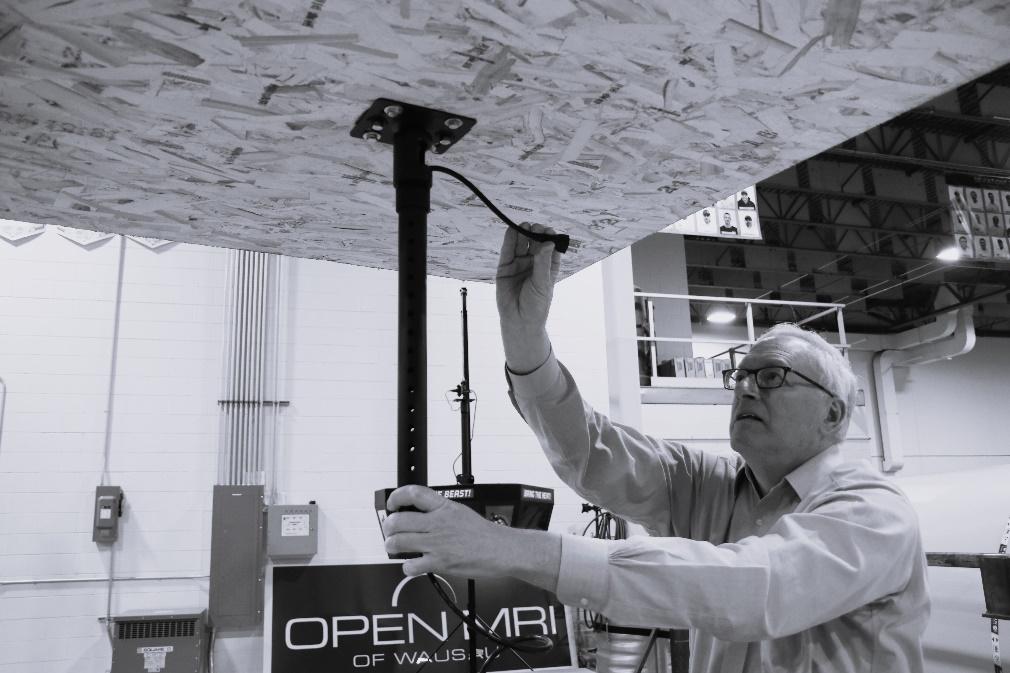
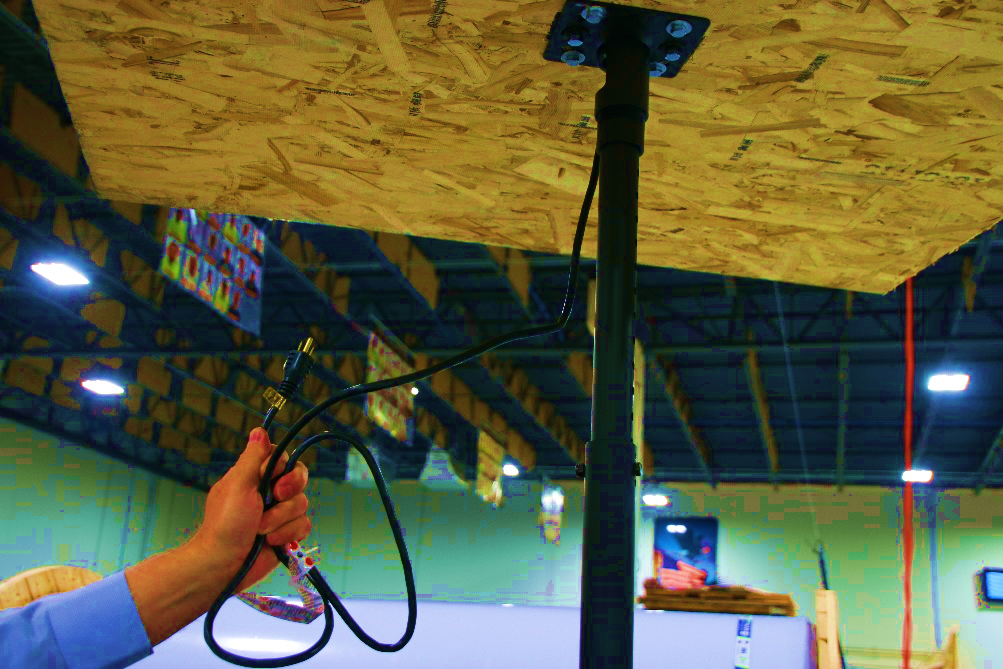
5. Take the power cord form the bottom of the Ceiling Mast (Part B) and attach it to the power cord from the Lower Adjustable Mast Section (Part C).
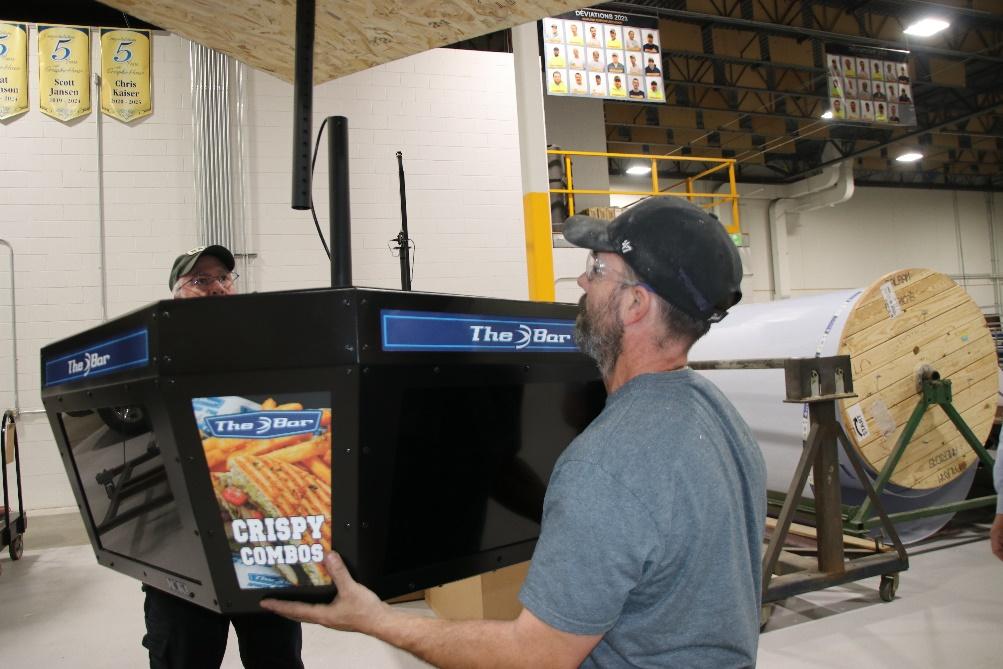
6. With the help of 2-3 people, carefully lift the MokiTV and attach it to the Ceiling Mast.
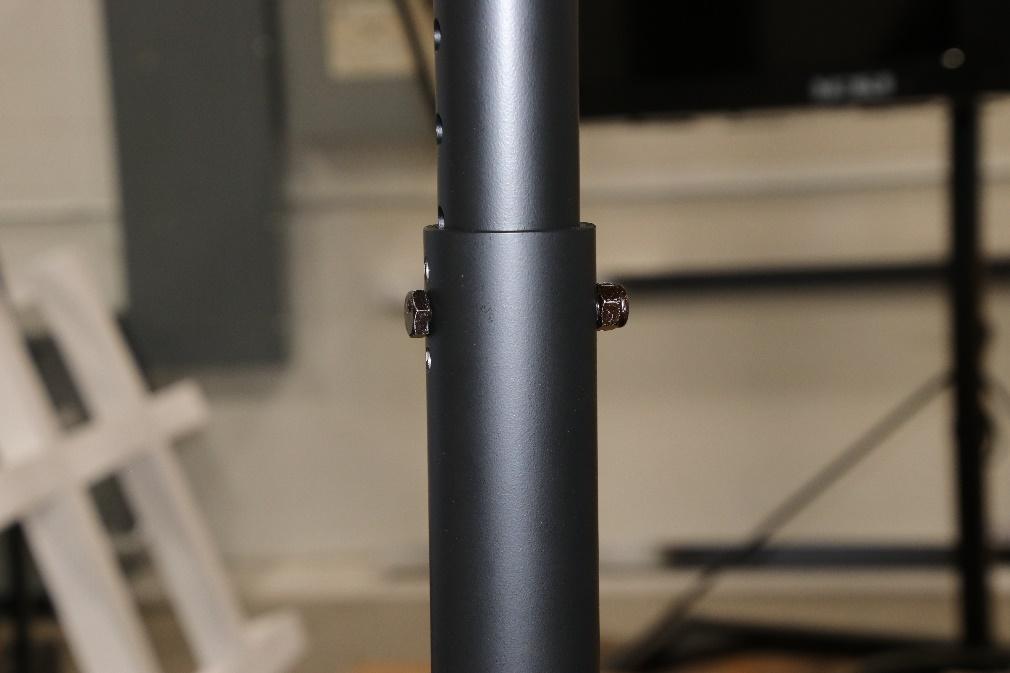
7. Insert Ceiling Mast section (Part B) into Lower Adjustable Mast (Part C). Insert Mast Bolt (Part D) at desired height and apply and tighten Nylon Lock Nut (Part D) using the supplied Allen Key (Part E) to complete mast assembly.

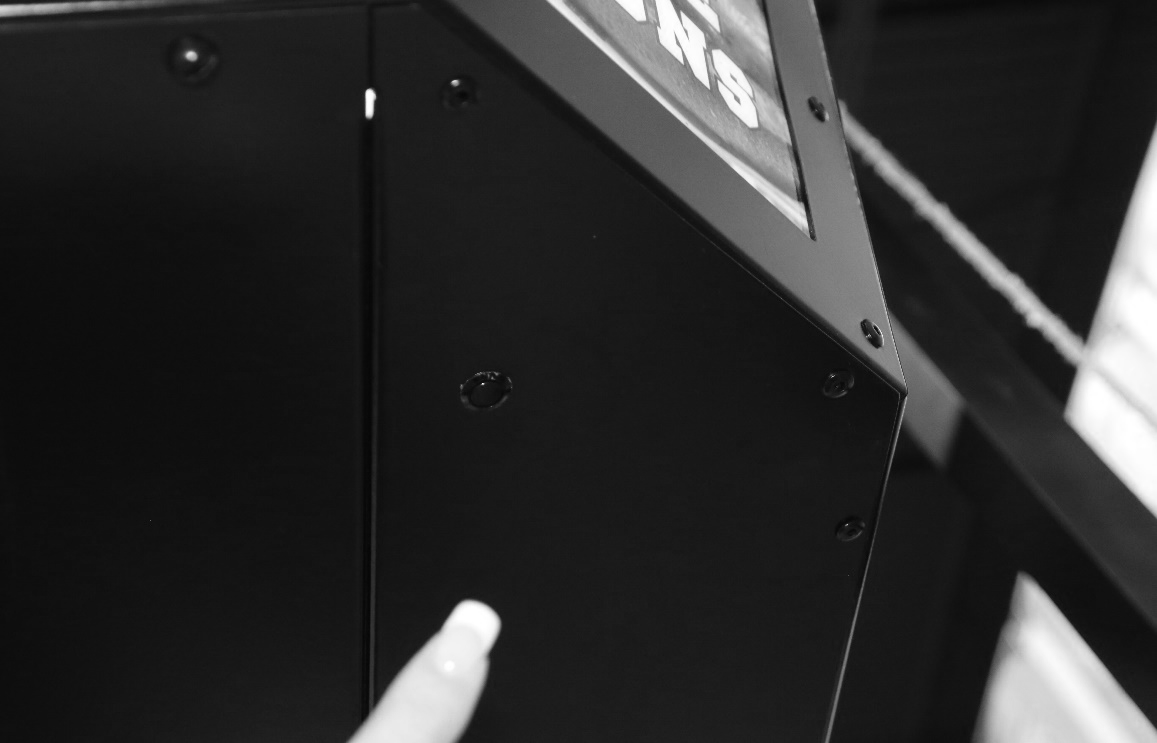
8. Plug MokiTV into the outlet. (note: the ceiling outlet is not provided). Turn on lights using the On/Off Switch located on bottom of unit. Follow the Supplied TV Instruction Manual for TV setup (Part G).
Thank you for choosing MokiTV! We hope you enjoy your Moki experience—bringing your space to life with dynamic, high-quality visuals.
If you have any questions, we’re here to help! www.mokitv.com